
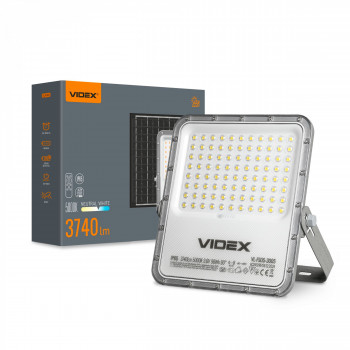
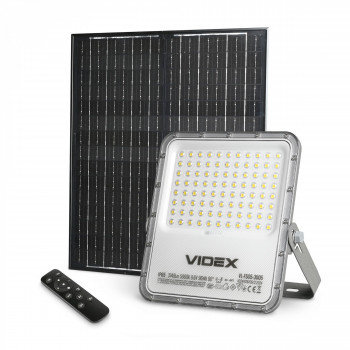
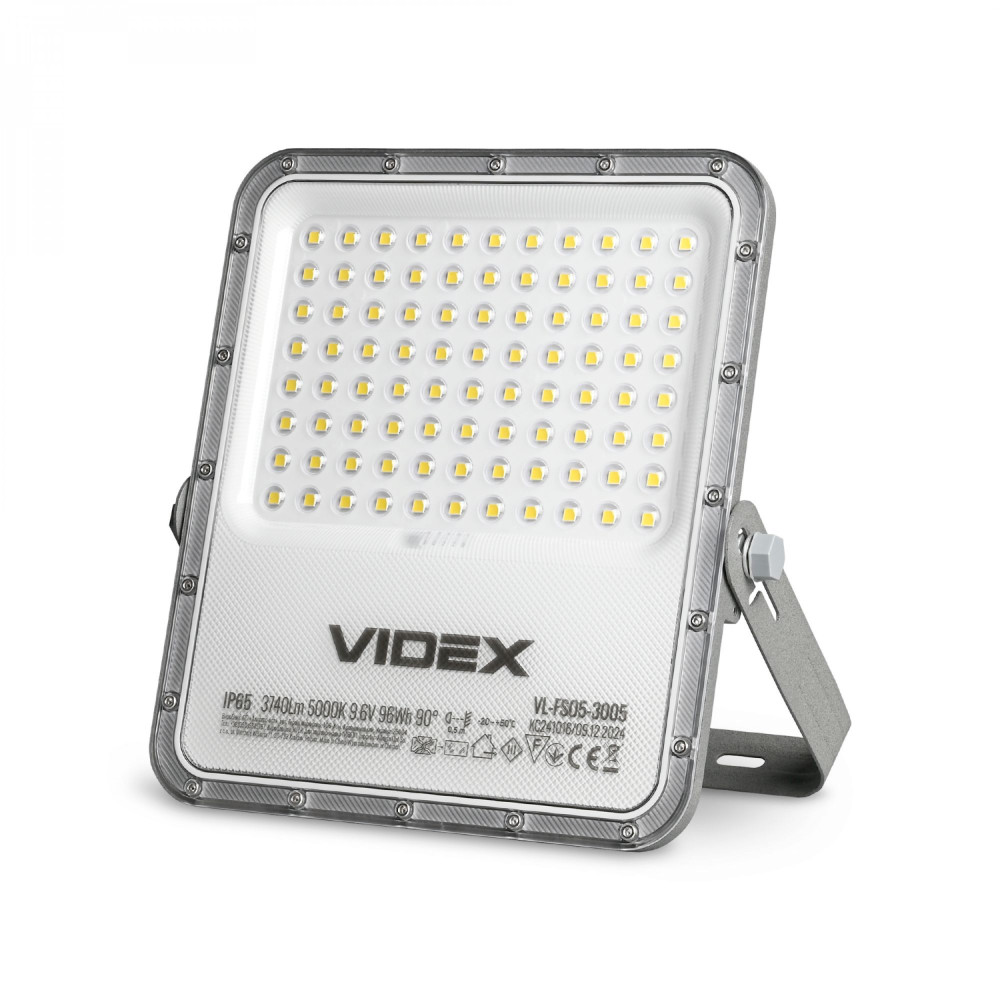
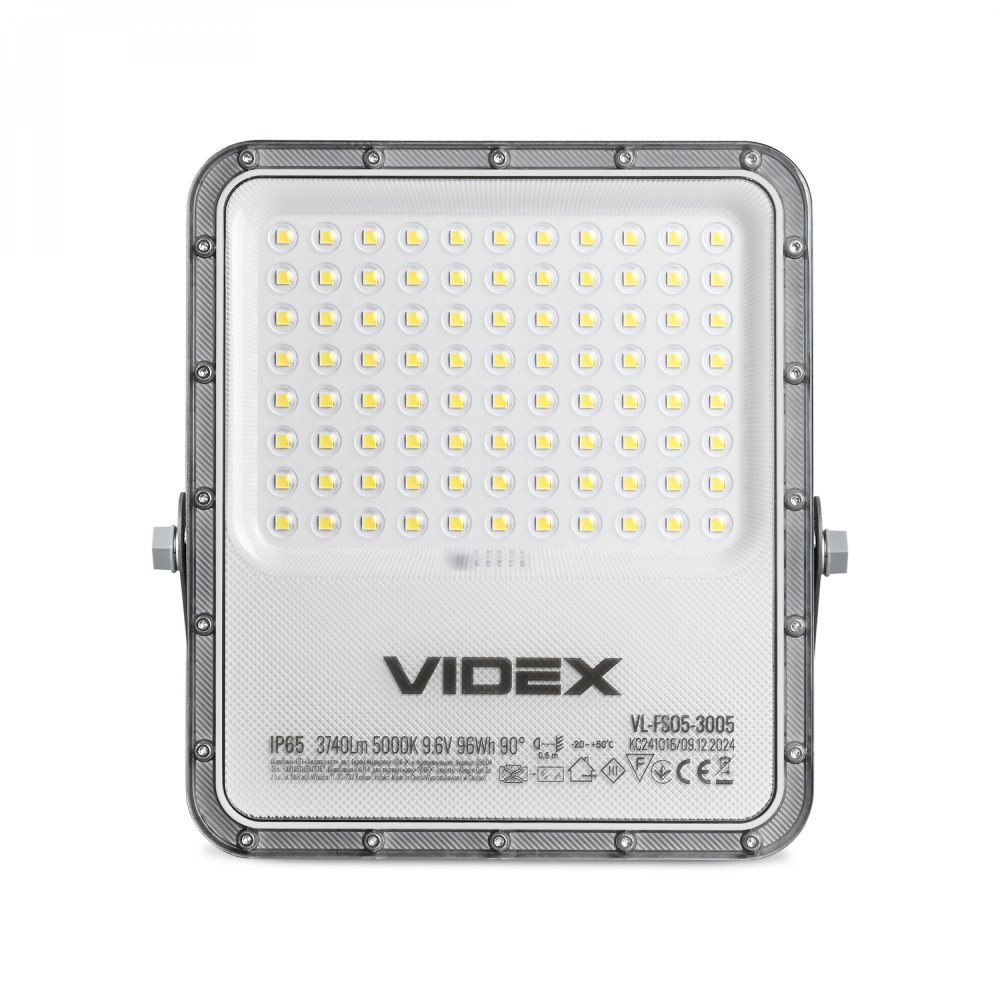
LED Solar Floodlight VIDEX VL-FSO5-3005 3740Lm 5000K


-
On-mode power (W):96Wh
-
Useful luminous flux of the light source (Lm):3740
-
Correlated color temperature (K):5000
-
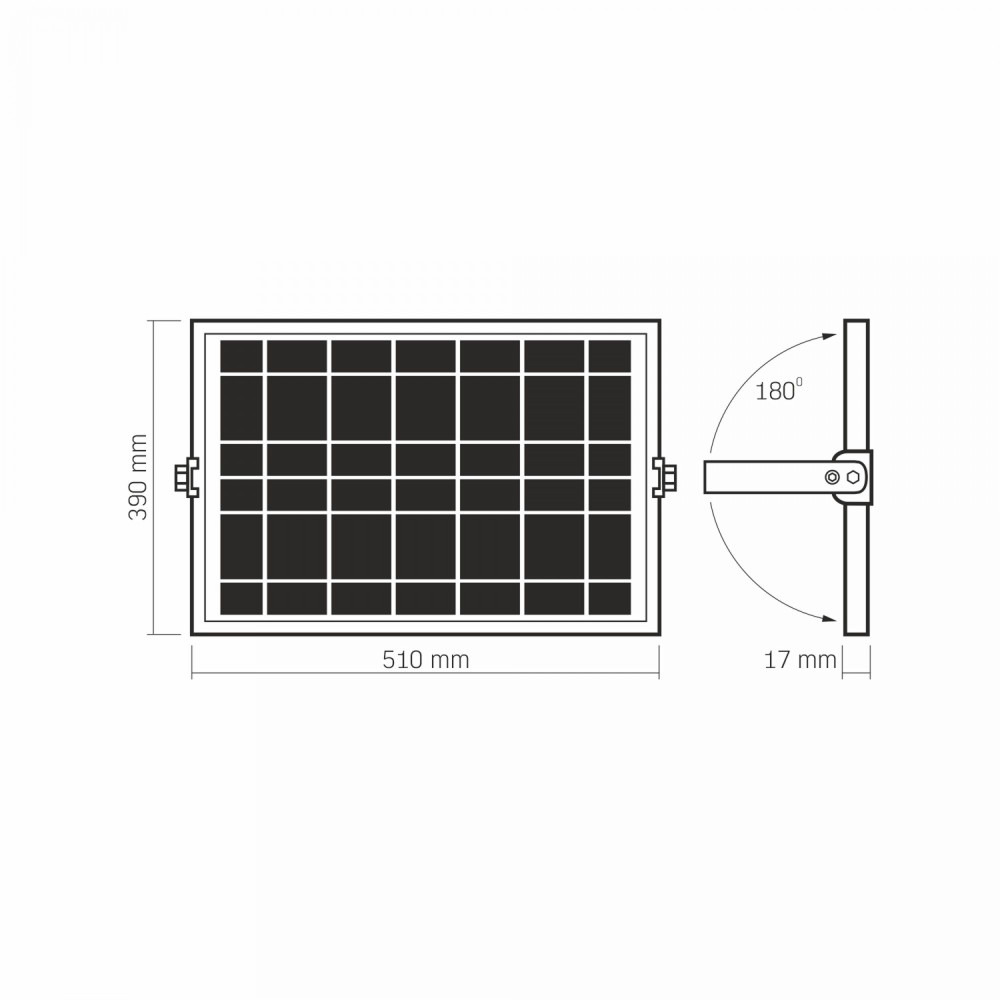
Rated voltage (V), frequency (Hz):Battery type: LiFePO4 Battery capacity: 10000 mAh Battery repleceable: no Full discharge time: ≤ 12 h Battery power: 96 Wh Solar panel voltage: 6 V Solar panel power: 35 W Battery voltage: 9.6 V Full charge time: 5-8 h
-
Beam angle (°):90
-
Place of application:Outdoor
-
Color rendering index (CRI):Ra > 80
-
Lifetime (h):30 000h
-
On/Off cycles:20 000
-
Ingress protection (IP):IP65
-
Warranty (y):2
-
Operating temperature range (°C):-20° +50°C
-
Dimmable:Yes
-
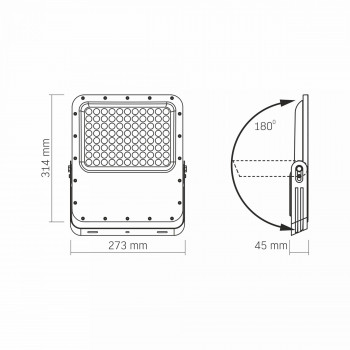
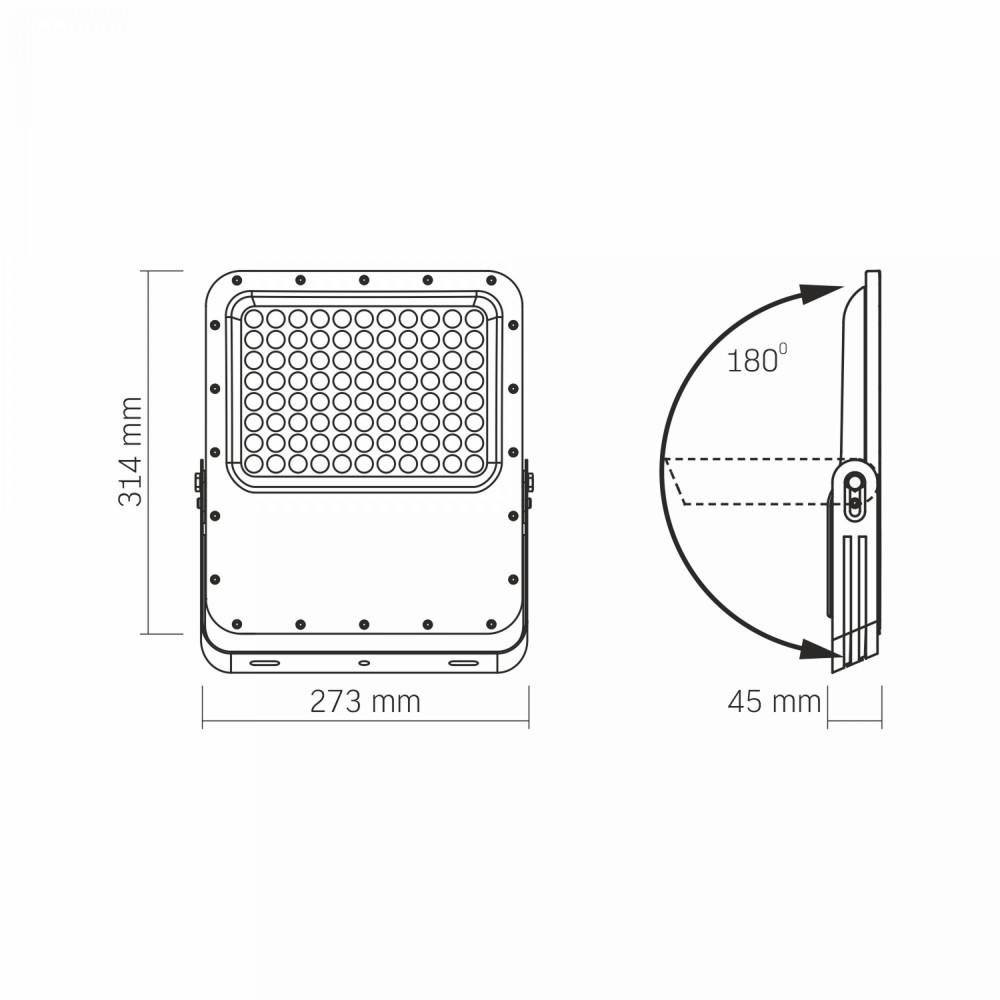
Measurements (mm):314x273x45
-
Outer box:5
-
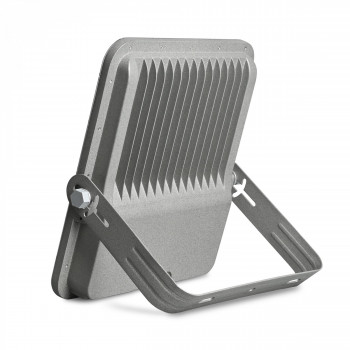
Housing colour:Gray
-
Diffuser material:PC
-
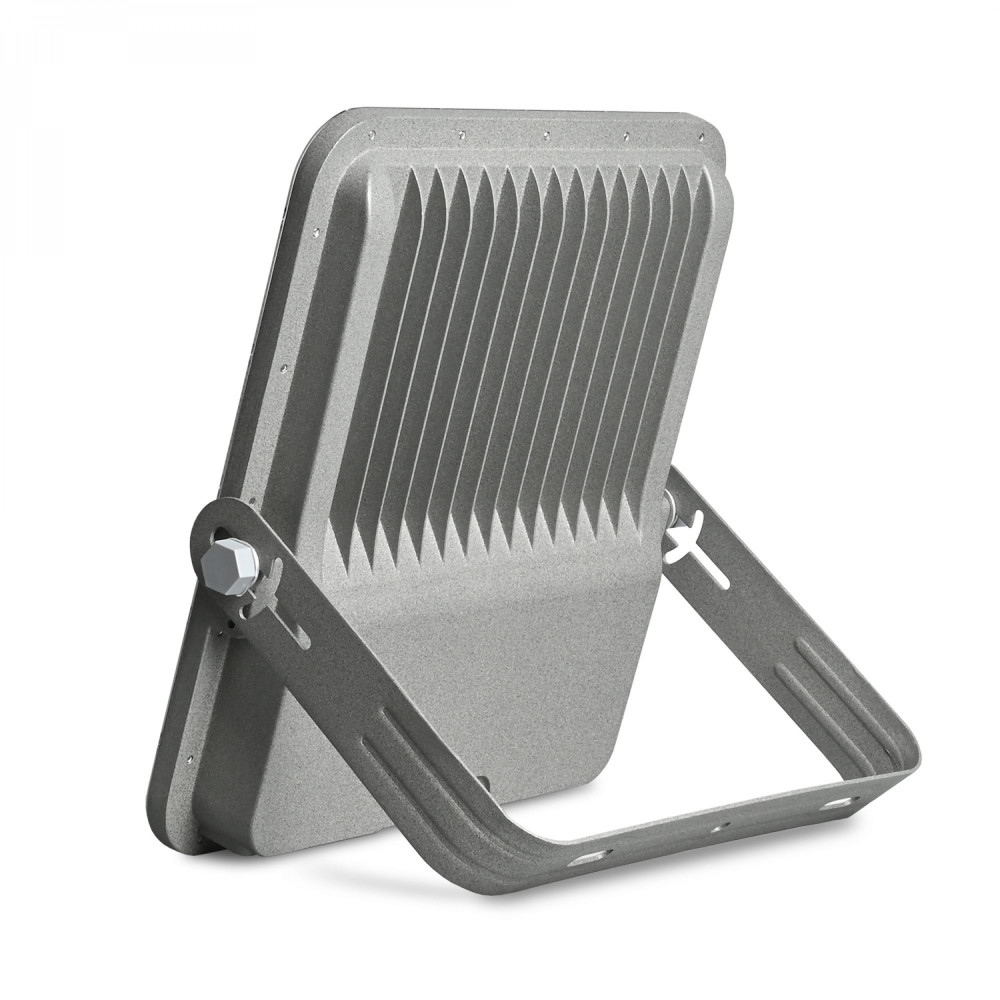
Housing material:Aluminum alloy
-
Impact protection (IK):IK07
-
Motion sensor:No
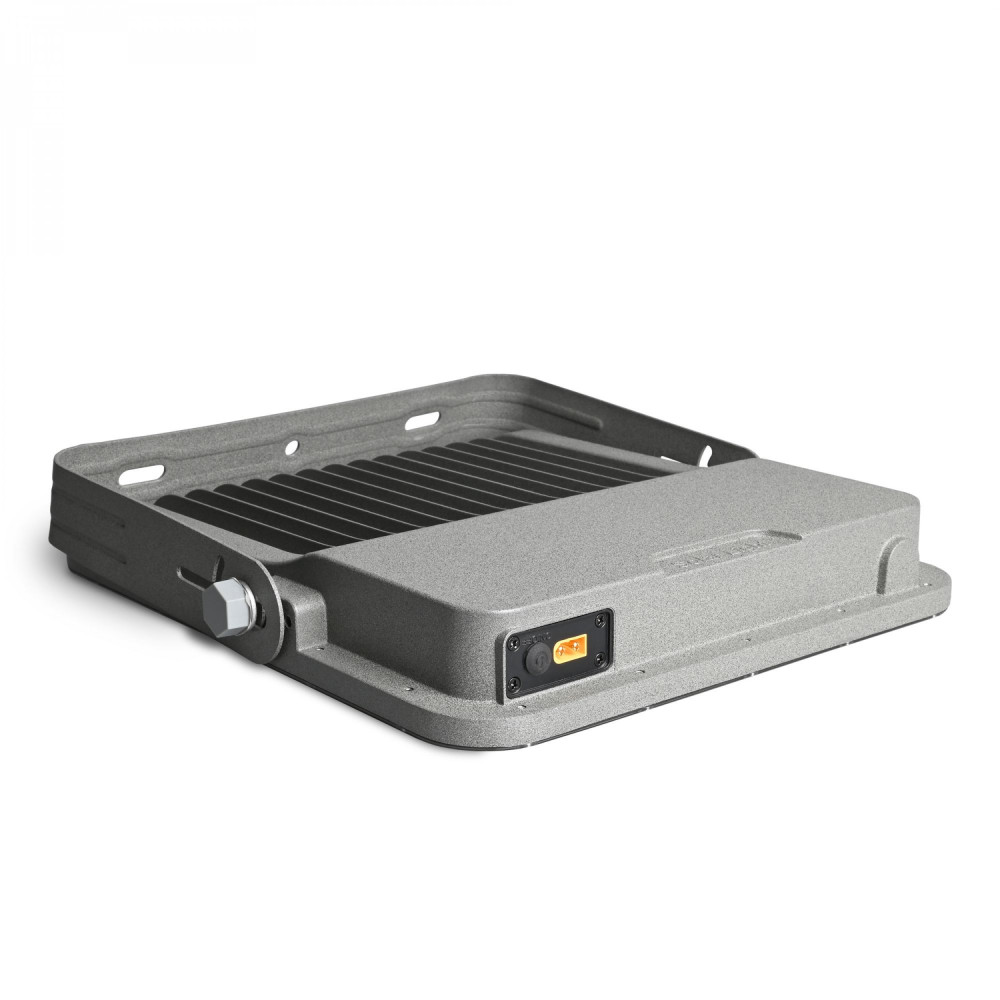
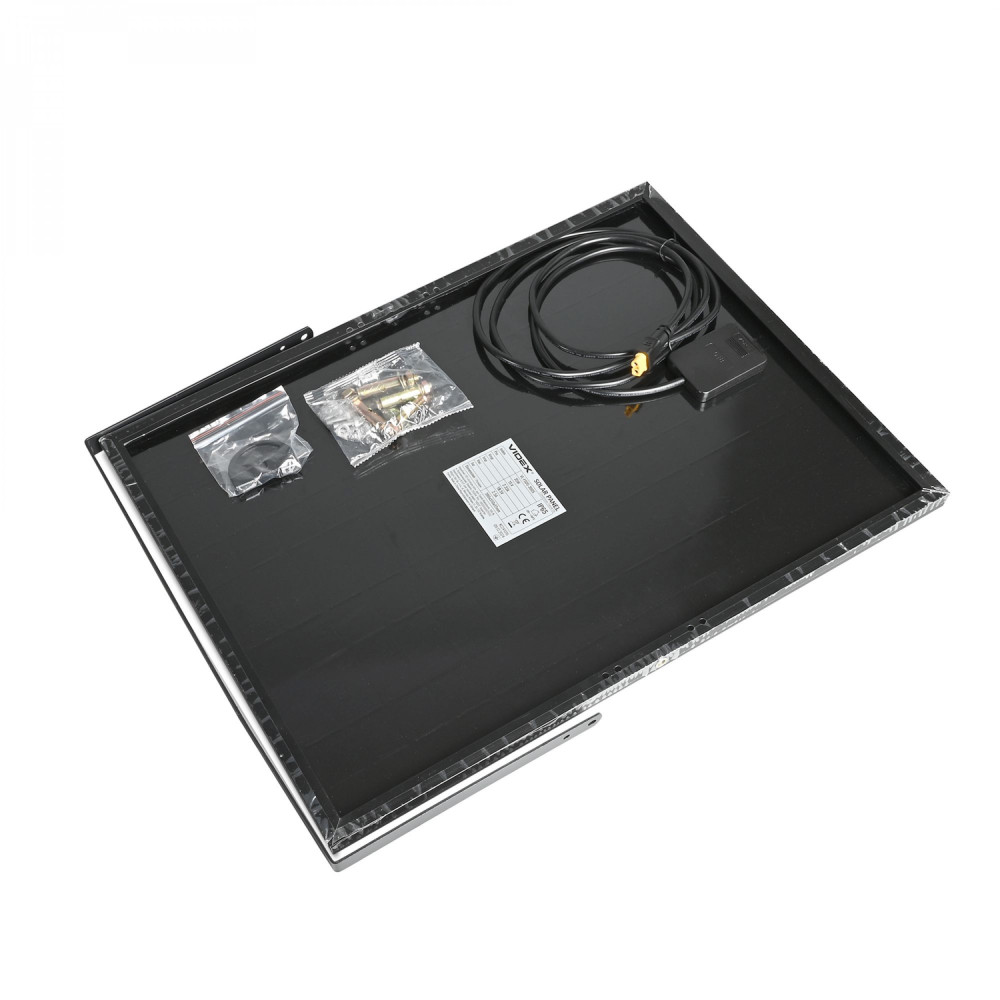
LED Solar Floodlight VIDEX VL-FSO5-3005 3740Lm 5000K is designed for illuminating open areas, parks, and residential surroundings. It operates completely autonomously and is charged by a solar panel. Using this floodlight makes you fully independent from possible power outages at home or in your cottage, as the built-in battery charges throughout the day from sunlight, allowing the floodlight to operate autonomously for up to 12 hours. This LED floodlight is ideal for locations where it is not possible to connect to the electrical grid or where the electrical load is very limited. You should choose the optimal location for installing the floodlight. When installing the LED floodlight, it is recommended to position the solar panel facing south for maximum energy generation (set the panel so that sunlight hits its surface perpendicularly) and avoid shading from trees, buildings, or other objects. The main advantages of a solar-powered floodlight include the absence of electricity costs, as well as: • LEDs as a light source, providing high-quality, uniform, and directional lighting; • Long service life without the need for maintenance; • IP65 ingress protection, enabling use in any weather conditions. TECHNICAL SPECIFICATIONS: - Luminous flux – 3740 Lm - Color temperature – 5000K (daylight) - Supports brightness adjustment (dimmer) - Color rendering index – Ra>80 - Beam angle – 90° - Battery type – LiFePO4, 9.6V - Battery capacity – 96Wh - Solar panel parameters – 6V, 35W - Operation via remote control powered by a CR2032 battery - Cable length – 2m - Service life – 30 000 hours - Number of ON/OFF cycles – 20 000 - Operating time – up to 12 hours - Charging time – 5–8 hours (in sunny weather) - Recommended installation height – 3–6m - Resistance to environmental and mechanical impacts – IK07 impact protection - Electrical protection class – Class III - Warranty – 2 years The package includes: solar panel, remote control, battery for the remote (CR2032), mounting bolts, and user manual. The total weight of the set is 4.37 kg. Before first use, it is recommended to fully charge the floodlight. To turn on the LED floodlight, press the «ON» button on the remote control or press the physical button on the device. The remote control allows you to select the desired mode and adjust the brightness. REMOTE CONTROL: 1. Turn on (ON): Press once to turn on. 2. Maximum brightness: 100% brightness until the battery is depleted. 3. Button +: Increase brightness by 5%. 4. Half brightness: 50% brightness until the battery is depleted. 5. AUTO mode: Activates automatic operation of the floodlight: – First 3 hours: 100% brightness – 3rd to 6th hour: 70% brightness – From 6th hour until shutdown: 30% brightness 6. 3H Timer: The floodlight operates at 100% brightness for 3 hours, and then turns off automatically. 7. 5H Timer: 100% brightness for 3 hours, 70% brightness from the 3rd to 5th hour, then turns off automatically. 8. Turn off (OFF): Press once to turn off. Double-press to enter sleep mode, in which the floodlight will not operate. 9. Button - : Decrease brightness by 5%. 10. Check Battery Level (M): Press to check the floodlight’s battery level. If 4 red and 1 green indicators are lit, the battery level is 100%. If 4 red indicators are lit, the battery level is 80%; if 3 indicators are lit – 60%; if 2 indicators are lit – 40%. If only 1 indicator is lit, the battery level is 20%. 11. Wake Up (WAKE UP): Press this button to wake the floodlight. After waking, the floodlight operates as follows: for the first 3 hours, it works at 100% brightness; from the 3rd to the 6th hour, at 70% brightness; and from the 6th hour until it turns off, at 30% brightness. 12. 8-Hour Auto-Off Timer (8H): The floodlight operates at 100% brightness for the first 3 hours, at 70% brightness fr from the 3rd to the 6th hour, and at 30% brightness from the 6th to the 8th hour, after which it automatically turns off. To turn off the floodlight, press «OFF» once. To enter sleep mode, press «OFF» twice. You can also turn off the floodlight or activate sleep mode by pressing and holding the physical button on the housing for 3 seconds. Note: The number corresponds to the button number. Refer to the user manual for details. During charging, the red indicators blink from left to right. After full charging, all 4 red and 1 green indicators remain steadily lit.


